We had a couple of hot days, so I decided to heat up the grill for dinner and make Chicken Taco Burgers. For side dishes I made Mission Baked Beans and a Mexican Salad, which I will share with you in a separate post. The recipe for the Chicken Taco Burgers came from the Taste of Home August/September 2009 issue and I cut out the Mission Baked Beans recipe from a magazine. The author was Mrs. Charles Lewis of Yucaipa, CA.
These recipes compliment each other nicely.

I began with the baked beans because it takes a while for them to cook. I know, baked beans should be baked, but when it's hot outside I resist turning on the oven and converted this recipe to cook on top of the stove.

This recipe calls for cooked and crumbled bacon, so I begin with that. I've decided that by cutting the bacon into small strips before cooking them, I get uniform sized pieces that are a bit bigger than when the bacon is cooked first and then crumbled. This means that you get more bacon flavor in each bite of the dish, and we all love the taste of bacon!

While I prepare the rest of the ingredients, I stir the bacon occasionally as it renders, so that it doesn't stick to the bottom of the saucepan.

Once the bacon is fully cooked. I put it on several paper towels to absorb the excess fat. I used to put the bacon fat in a bowl and throw it in the trash can once it cooled. On Pinterest, I discovered that I can line my little bowl with foil, so when the fat has cooled and is solid, I can wrap it up in the foil to throw it away and then I don't have a bowl to wash!

All of the ingredients, other than the cheese, go into the saucepan. I mix them gently and bring them to a boil over high heat. Once it reaches a full boil, I turn the heat down to low to let the beans simmer for 45 minutes. I know this seems like a long time, but the onions need to cook so they aren't crunchy and it needs to reduce to a thick baked bean consistency. While the beans simmer, I stir them every once-in-a-while so they don't stick to the pan and begin working on the main course, the Chicken Taco Burgers.

These burgers are simple to make and are healthy because they're made from ground chicken. I place all of the ingredients in a bowl large enough to give me room for mixing. I've tried using a spoon and a spatula for this, but find that clean hands (minus rings) are the best tools for getting this completely mixed.

You'll know it's fully mixed when you no longer see any areas with the light pink chicken meat. The taco seasoning and chili powder will give it a darker hue. The mixture at this point is very soft, much softer than hamburger meat which is easily pressed into patties.

The first time I made these burgers, I tried patting them out on a cutting board, but they stuck to the board and when I tried to lift them off with a spatula, it altered the round shape. Then I discovered a product called Dispens-a-wax that I found at Smart & Final. They are 5-inch square pieces of paper that are somewhere between wax paper and parchment paper, and are oh, so handy. There are 1,000 sheets in the box, so it will last me a very long time. I even use them when making regular burgers, to put between patties so they don't stick to one another. They are a real time saver. With these soft burgers, I put the paper on my cutting board and gently press out the shape of the burger.

Not only do they not stick to my cutting board, but these little sheets of paper make it easier to get them on the grill! I flip them over onto the grill and then gently peel back the paper and discard it. I know there is a little bit of waste of meat sticking to the paper, but I feel it far outweighs the hassles I described above!

Because these patties are so soft, they can't be flipped too soon! I keep them on the grill over medium heat for 5 minutes before even attempting to turn them. From the picture above, you can tell that after that amount of time, they look more "solid" than the previous picture.

You can see that those aren't just grill marks on the first side, but deep groves due to the softness of the patties. I grill them for an additional 5 minutes and then flip them again before adding the cheese. I just think that the melted cheese looks better on the smoother side as opposed to this side with the deep ridges.

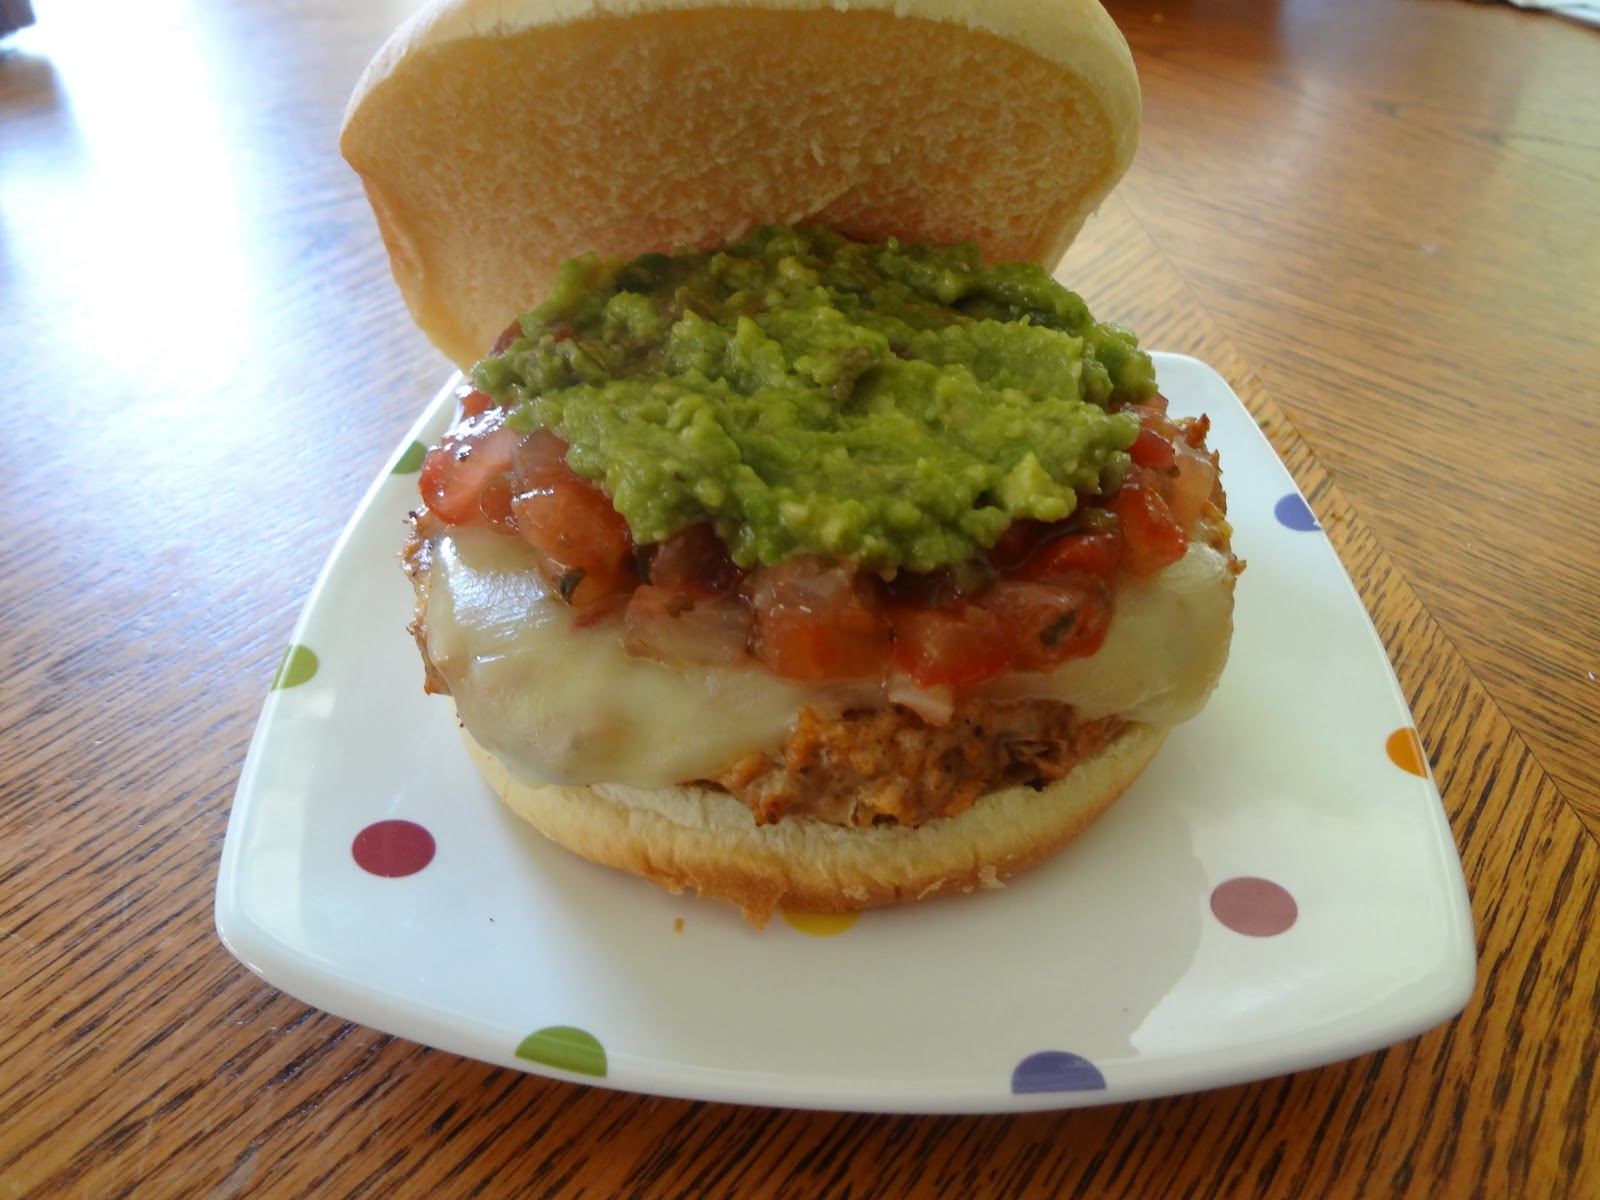
Because it's a taco burger, the normal condiments just won't do. We always add salsa and if I make fresh guacamole, we add that too! I forgot to take a picture of the beans once I added the cheese, but the picture at the top shows how wonderful and thick these beans are when they are ready to serve. The spices and enchilada sauce give them a Mexican flavor that makes them a perfect addition to the Taco Burgers. Enjoy!
Again, I also made my Mexican Salad to complete the meal, but will share that recipe at another time. On extremely hot days, it's a cool main dish that I serve with fresh quesadillas. As we near summer and the heat rises, I'm sure I'll be adding it to my blog, so stay tuned!
Chicken Taco Burgers
½ cup finely
chopped onion
1 pkg. taco
seasoning
2 cloves
garlic, minced
½ tsp pepper
2 lbs. ground
chicken
1 egg, beaten
8 slices
pepper-jack cheese
1 pkg. (8)
hamburger buns
Salsa and/or
guacamole for toppings
In a large
bowl, combine the first 6 ingredients, mixing thoroughly. This mixture will be soft. Shape into 6 patties. Grill patties, covered, over medium
heat for 5 minutes. Flip and
grill, covered, an additional 5 minutes; top with cheese, cover and grill for 1
minute to melt cheese. Place on buns
and top with salsa and/or guacamole.
Mission Baked Beans
8 slices
bacon, cooked and crumbled
1 can (28
oz.) pork and beans
1 can (15 ½
oz.) chili beans, undrained
¾ cup finely
chopped onion
½ cup packed
dark brown sugar
1 can (10
oz.) enchilada sauce
1 tablespoon
all-purpose flour
2 teaspoons
chili powder
1 teaspoon
ground cumin
1/8 teaspoon
garlic powder
1 cup (4 oz.)
shredded Monterey Jack cheese
Combine all
ingredients, except cheese, in a large saucepan or Dutch oven; mix gently. Bring to a boil over high heat; reduce
heat and simmer for 45 minutes, stirring frequently so the beans don’t stick to
the bottom of the pot. Sprinkle with cheese before serving.
No comments:
Post a Comment