Friday, January 17, 2014

Best Baby Back Ribs

This has got to be my favorite recipe for ribs.  It takes some time to get these delectable ribs to the table, but it's not a lot of effort and so worth the time.


I found this recipe in the June/July 2004 edition of my Taste of Home magazine and it has been a favorite since the first time I made it.  These ribs get all 9's on the Melnarik rating scale and friends whom we share them with give them 10's all around!


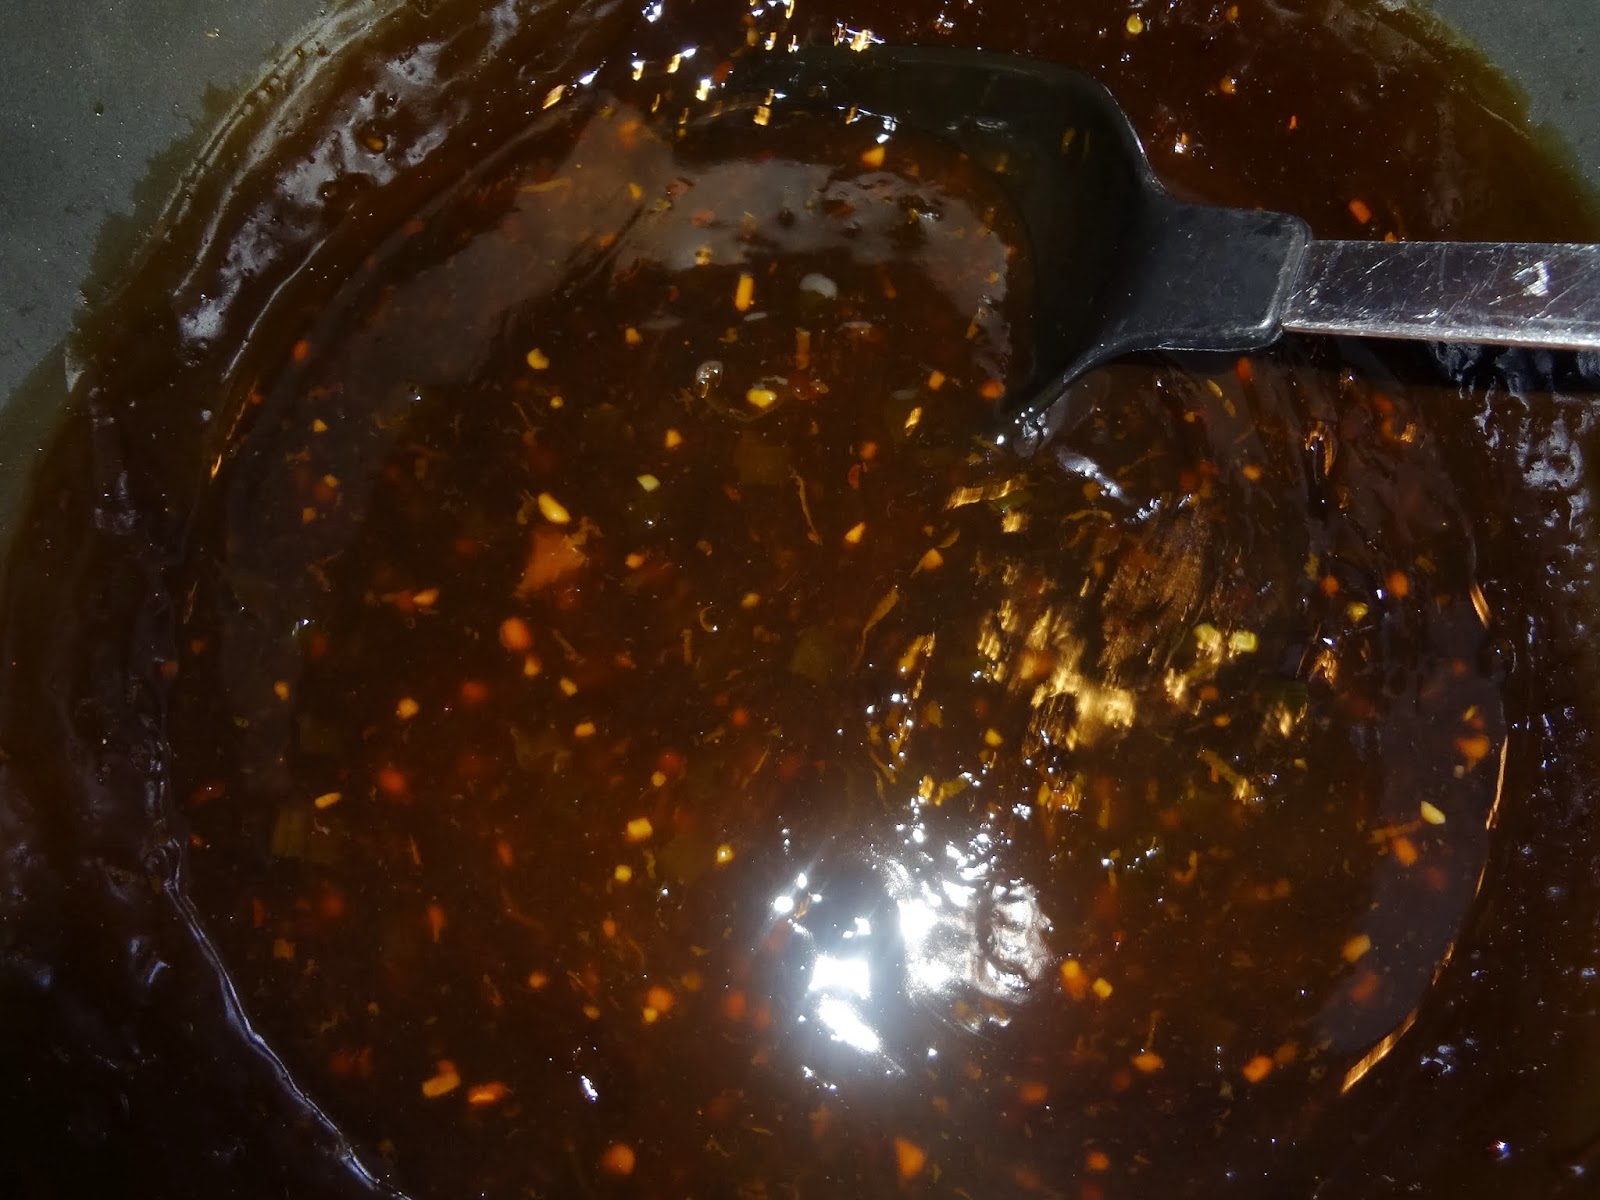
To begin, in a medium bowl I combined the chicken broth, soy sauce, sugar, cider vinegar, olive oil and garlic cloves.  Using a whisk, I combined them thoroughly.


After cutting the ribs into pieces that would fit into a 2 gallon zip lock bag (the only place I can find these larger bags right now is Target), I placed them in the bottom of the bag.


Then, I poured 2/3 of the marinade over the top and sealed the bag.


I turned the bag several times to make sure all of the ribs had at least a little bit of marinade on them.  Then I placed them in the refrigerator to marinade over night.  The remaining 1/3 of the marinade that I didn't add to the bag, I placed in a small bowl. Then I covered and refrigerated it until the end of the grilling process the next day.  The next morning, I turned the bag over to let the "other side" of the ribs sit in the marinade until grilling time later in the day.


Keeping in mind that the ribs will be on the grill for almost 1 1/4 hours, approximately 1 1/2 hours before serving time, I took the ribs out of the bag, placed them on a couple of cutting boards and discarded the marinade and the bag.


For the dry rub, in a small bowl, I combined the sugar, salt, paprika, chili powder, pepper, garlic powder and cayenne pepper.


This seasoning rub even smells good at this point!


I sprinkled some on one side, rubbing it in with my fingers,


then turned the pieces over and sprinkled with more seasonings and rubbed them in.


As you can see from the picture above, I used a rib rack on which to grill my meat.  First I coated it with a non-stick spray so the ribs wouldn't stick.  The ribs should be cooked with the indirect heat method, which means they are not directly over the heat source.  Notice that I have a foil pan beneath the ribs with the charcoal briquettes around the foil pan.  This makes the grill operate more like an oven and because no juices drop on the hot coals, there is never a flare up of flames to scorch the ribs.  If using a gas grill, check the manufacturer's instructions for cooking using indirect heat.  Because I was using a grill rack, I cooked the ribs for 40 minutes, then basted them with the reserved marinade (this is also called mopping) from the refrigerator and grilled an additional 40 minutes, basting several more times with the reserved marinade.  If a grill rack is not being used, the ribs should be turned after the first 20 minutes of cooking and then cook an additional 20 minutes before basting with the marinade.  During the last portion of cooking time, each time the ribs are basted, they should be turned.  I like my grill rack not only because I don't have to check on the ribs for the first 40 minutes, but also because the ribs take up less room on the rack because they are sitting up right.


Everyone was so eager to get their ribs that I didn't even get to take a picture until the last few were the only ones left on the platter!  That's how good they are!  Enjoy!


Best Baby Back Ribs

Marinade:
¾ cup chicken broth
¾ cup soy sauce
½ cup sugar
6 tablespoons cider vinegar
6 tablespoon olive oil
3 garlic cloves, minced

2 racks pork baby back ribs, about 4 ½ pounds

Seasoning Rub:
½ cup sugar
1 tablespoon salt
1 tablespoon paprika
½ teaspoon chili powder
½ teaspoon pepper
¼ teaspoon garlic powder
dash cayenne pepper


In a medium bowl, combine the marinade ingredients.  Cut ribs into pieces that will fit into a 2 gallon resealable bag; place ribs in bag.  Pour 2/3 of the marinade over the ribs; seal the bag and manipulate so all ribs are coated in marinade.  Refrigerate over night.  Cover and refrigerate remaining marinade.

When ready to grill, remove ribs from bag; discard marinade.  In a small bowl, combine seasoning rub ingredients; rub over both sides of ribs.  Grill ribs, covered, using indirect medium heat, for 20 minutes.  Turn and grill 20 minutes longer.  If using a rib rack, coat with non-stick spray before adding ribs and grill for 40 minutes, no turning necessary.  Baste with reserved marinade; cook 20 to 40 minutes longer or until a meat thermometer shows 160°F and pork is tender.  During final cooking time, turn and baste ribs occasionally.


Campfire Potatoes

Scalloped potatoes was one of my favorite side dishes growing up.  My mom would make them to accompany her meatloaf, a meal she only made during the cold months.  This recipe tastes so much like her scalloped potatoes, but because they are cooked on the grill I can have that memorable flavor any time of year!


I discovered this recipe in the tear-out section of one of Reiman Publications cooking magazines in 1998.  It is a wonderful side dish for any meat I decide to grill and it gets 8's and 9's on the Melnarik rating scale.


After peeling and slicing my potatoes thinly (I use a mandolin slicer to do the cutting more quickly and evenly) I placed them on a large piece of heavy duty foil.  If I don't have any heavy duty foil, I use a double layer of regular foil.  This packet is fairly heavy once filled, so it needs the extra strength of the heavy duty foil.


Then I added the onions that I halved and sliced.  I do this because my guys don't like to pull what they consider a limp onion ring out of their food.  The onions could be diced, if you prefer.


Next, I sprinkled on the salt and pepper.


I just realized as I was looking at this picture after typing the recipe, that I did things a little backwards this time.  The recipe calls for the butter to be added before the seasonings and cheese, but as you can see here, I added the seasonings and cheese before the butter.  It really doesn't matter the order as long as none of the ingredients are left out!


After adding the cheese, I dotted it with butter and sprinkled on the parsley.


Once I began pulling the foil up around the spuds, I poured in the chicken broth (sorry no photo).  Then I finished folding the foil tightly around the bundle.  I find it easiest to transport the foil packet to the grill on a cookie sheet or cutting board.


After placing the packet on the grill (here I used my small table-top grill as my charcoal grill was being used for the Best Baby Back Ribs!) and cooked them, covered, over medium heat for about 40 minutes.


When done, I removed the packet to a platter and opened the foil carefully to allow steam to escape.  For me, it's comfort food straight from the grill!  Enjoy!


Campfire Potatoes

5 medium potatoes, peeled and thinly sliced
1 medium onion, cut in half and sliced
6 tablespoons butter
1/3 cup shredded sharp cheddar cheese
2 tablespoons minced fresh parsley
1 tablespoon Worcestershire sauce
Salt and pepper to taste
1/3 cup chicken broth

Place the potatoes and onion on a large piece of heavy-duty foil (about 20 in. x 20 in.); dot with butter.  Sprinkle the next 5 ingredients evenly on top.  Fold foil up around potatoes and add the broth.  Seal foil tightly.  Grill, covered, over medium heat for 35 – 40 minutes or until potatoes are tender.  Open foil carefully to allow steam to escape.


Saturday, January 11, 2014

Kenny's Orange Chicken

If you like the Orange Chicken that is served at Panda Express restaurants, you are bound to like this recipe.  When I was given this recipe, I was told that it made much more sauce than what was needed for the amount of chicken called for.  Therefore, I doubled the amount of chicken when I prepared it and my recipe below reflects those amounts.  I was assured it was very good, so leftovers were not going to be a problem.


My nephew, Kenny, has taken up cooking and this recipe came from him.  I told him that if we thought it was really good, I would add it to my blog.  We loved it, giving it straight 9's on the Melnarik rating scale!  His sister and her husband call this savory chicken Crazy Uncle Kenny's Orange Chicken, and told me I was free to call it that here, but I don't think he's crazy and he's not yet an uncle, so I'm just calling it Kenny's Orange Chicken (sorry Jessica and Arland!). Thank you, Kenny, for sharing this recipe with me!


To begin, I began heating about 1-inch of vegetable oil in my largest skillet to 375°F.  Then, I beat the eggs in a bowl using a fork and mixed the flour and salt and pepper in a shallow dish.  I started with 1 cup of the flour to which I added 1/2 teaspoon each of salt and pepper.  When I was about half way through dredging the chicken pieces, I added the other cup of flour with the same amount of seasonings.


I then began cutting the chicken into 3/4- to 1-inch cubes.


As I cut about a handful of chicken cubes, I dipped them in the egg,


then I dredged them in the flour mixture.  


I would only add enough chicken to almost cover the bottom of the frying pan.  This allowed them to cook evenly and gave me a bit of room to turn them as needed so they were golden brown on all sides.
  

As each batch was finished, I would drain it on paper towels for a few minutes, then place in in a large bowl and set it aside.


During the time I was cooking the chicken, I was making the sauce.  To begin, I combined 1 1/2 cups of the water with the orange juice, lemon juice, rice vinegar, and soy sauce.  Hint:  Before juicing the orange, wash the rind and zest it (remove very thin strips from the outer part of the skin) and set aside for later use.  I stirred the ingredients together and began cooking the sauce over medium heat for 4 minutes.


To this mixture, I added the orange zest, brown sugar, ginger, garlic, and green onions, stirring to combine.  I increased the heat to high and brought the sauce to a boil.


Once boiling, I reduced the heat to medium and stirred in the Mirin Sweet Cooking Sake and red pepper flakes.  In a separate bowl, I whisked together the cornstarch with 1/4 cup of water and slowly added it to the sauce while continuously stirring.  I continued cooking and stirring the sauce for a couple of minutes until it was nicely thickened.


I added the sauce to the cooked chicken I had set aside in the bowl and tossed to coat all the pieces of chicken.


I served this delectable chicken with some with rice and stir fry vegetables.  It did take a bit of time to put this dish together, because of the amount, but it was so worth the time!  If you like Asian flavors, this dish is for you!  Enjoy!


Kenny’s Orange Chicken

2 packages (16 oz. each) boneless skinless chicken breasts
2 extra large or 3 small eggs, beaten
2 cups flour
salt and pepper to taste
Oil for frying
1 ¾ cups water, divided
1 tablespoon orange zest
juice of 1 large orange
¼ cup lemon juice
1/3 cup rice vinegar
1 ½ tablespoons soy sauce
1 cup firmly packed brown sugar
½ teaspoon ground ginger
½ teaspoon garlic, minced
2 tablespoons finely chopped green onions
¼ teaspoon red pepper flakes
2 tablespoons Mirin Sweet Cooking Sake
3 tablespoons cornstarch

Heat oil in large frying pan or Dutch oven to 375°F.  Cut chicken breasts into 1-inch cubes.  In a shallow dish, combine flour, salt, and pepper for breading.  In small batches, coat chicken pieces in egg, then dredge in flour mixture.  Fry chicken in batches, turning as necessary, until golden brown and fully cooked.  Drain on paper towels and set aside in a large bowl.

Meanwhile, in a large saucepan, combine 1 ½ cups water, orange juice, lemon juice, rice vinegar, and soy sauce, stirring to combine.  Cook over medium heat for 4 minutes.  To the sauce, add orange zest, brown sugar, ginger, garlic, and green onions, stirring to combine.  Increase heat to high and bring to a boil.  Reduce heat to medium and stir in Mirin and red pepper; continue cooking.  In a cup, combine cornstarch with remaining ¼ cup water; mix well.  While stirring the sauce, slowly add cornstarch mixture; continue stirring until thickened.  Pour sauce over chicken and toss to coat; serve with rice.