Wednesday, May 30, 2012

Tex-Mex Pasta

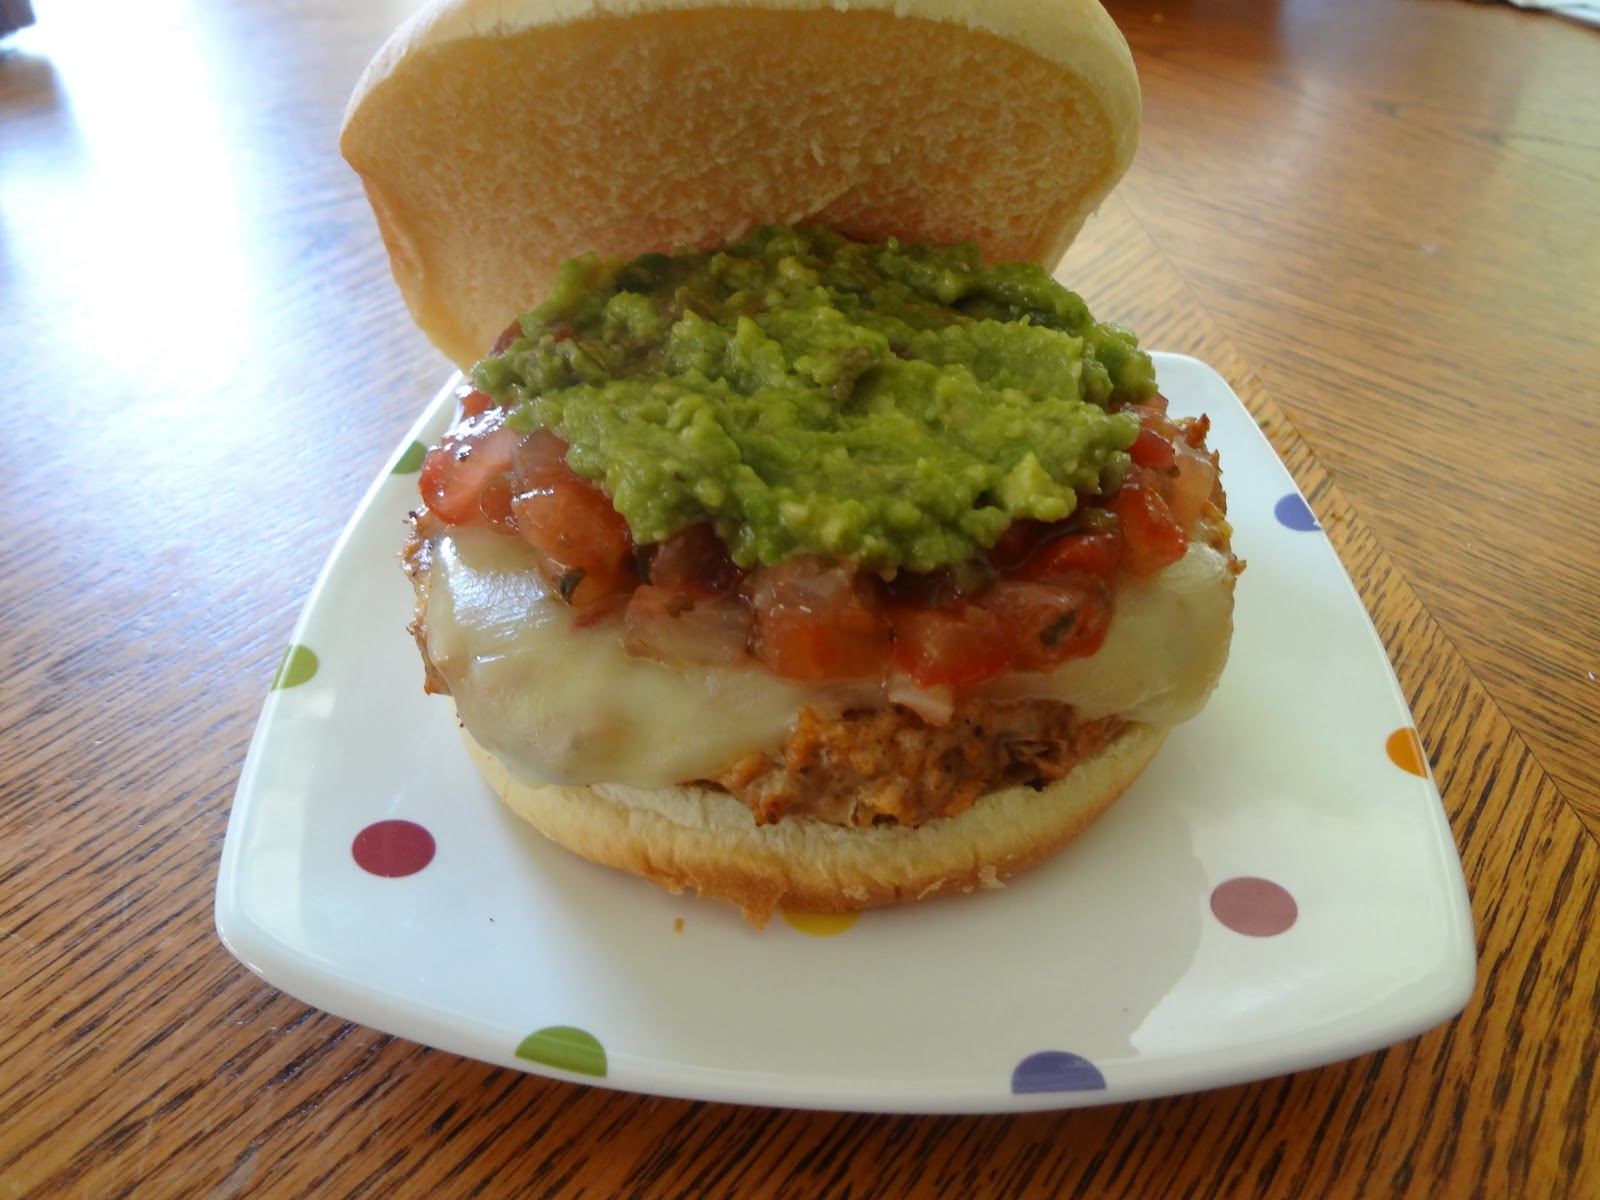
This dish is fairly easy to prepare, tastes great and can be on the table in under 45 minutes!  I found this recipe in one of those small pamphlets you see at the checkout stand while waiting to pay for your groceries.  Yes, the pamphlet was an impulse buy, but I got a couple of good recipes out of it and this was one of them.  Credit for the recipe was given to Karen Wetch of Santa Rosa, CA.  I thank you Karen for submitting this recipe for publication!


This colorful pasta dish is as appealing to the eye as it is to the taste buds!


After getting a pot of water on to boil, making sure I use a pot big enough to cook 1 pound of pasta, I begin preparing the rest of the dish.  This is another recipe where I like to use the Jenni-O Hot Italian Sausage.  The original recipe just called for Italian turkey sausage.  The Jenni-O sweet sausage is also good, I just prefer the hot sausage because it kicks up the flavor of any dish I use it in.  It comes in links, so I take the sausage out of the casings and put them in my large wok.  If you don't have a large wok or frying pan, a Dutch oven would be the best thing to use, because once you add the pasta, there is a lot of food in the pan!


I cook the sausage over medium-high heat, breaking it apart frequently while I prepare the rest of the ingredients.  I also keep watch on the water so I can add the pasta as soon as the water is at a full boil.


In the meantime, I chop the onion and red bell pepper.  The original recipe called for 1 zucchini, chopped, but my guys decided some time ago that they don't like zucchini, so now I use my cheese grater and grate it so it isn't recognizable as zucchini.  None of them have asked yet what that "green stuff" is in this dish.  I think I have them fooled!


I stir in the fresh veggies that I just prepared, then add the frozen corn, salsa, canned tomatoes, and oregano.  You can use the salsa your family likes best and the heat level you prefer.  We like the Cha Chi's Pico de Gallo Salsa medium heat.  


It's already looking as good as it smells!  All of this gets cooked another 5 minutes, stirring often.


By this time, the pasta is completely cooked (according to package directions) and drained.  The pasta is then added to the mixture in the pan.


I sprinkle on the cheese and let it sit a couple of minutes to melt.


Fresh cilantro gets added to the top just before serving.  My youngest son's friend joined us for dinner, so there were five of us and there still was plenty left over.  I'd say this serves 8 people, but it's also great reheated the next day.  Enjoy!

Tex-Mex Pasta

16 oz. uncooked penne pasta
1 pkg. Jenni-O Hot Italian turkey sausage, casings removed
1 medium onion, chopped
1 medium red bell pepper, chopped
1 small zucchini, grated
2 cups frozen corn
1 cup salsa
1 (14.5 oz.) can diced tomatoes, undrained
3/4 teaspoon dried oregano leaves
8 oz. cheddar cheese, shredded
1/2 cup fresh cilantro, chopped

Cook penne pasta to desired doneness as directed on package.  Drain; cover to keep warm.  Meanwhile, spray nonstick wok or large skillet with nonstick cooking spray.  Heat over medium-high heat until hot.  Add sausage; cook 5 minutes or until no longer pink and thoroughly cooked, stirring frequently and breaking up meat as it cooks. Drain.  Add onion, bell pepper, zucchini, corn, salsa, tomatoes and oregano; mix well.  Bring to a boil; cook 5 minutes, stirring occasionally.

Add cooked penne pasta; toss to mix.  Top with cheese; let sit until cheese is melted.  Sprinkle with cilantro and serve.

Friday, May 25, 2012

Chicken Taco Burgers and Mission Baked Beans


We had a couple of hot days, so I decided to heat up the grill for dinner and make Chicken Taco Burgers.  For side dishes I made Mission Baked Beans and a Mexican Salad, which I will share with you in a separate post.  The recipe for the Chicken Taco Burgers came from the Taste of Home August/September 2009 issue and I cut out the Mission Baked Beans recipe from a magazine.  The author was Mrs. Charles Lewis of Yucaipa, CA.


These recipes compliment each other nicely.


I began with the baked beans because it takes a while for them to cook.  I know, baked beans should be baked, but when it's hot outside I resist turning on the oven and converted this recipe to cook on top of the stove.


This recipe calls for cooked and crumbled bacon, so I begin with that.  I've decided that by cutting the bacon into small strips before cooking them, I get uniform sized pieces that are a bit bigger than when the bacon is cooked first and then crumbled.  This means that you get more bacon flavor in each bite of the dish, and we all love the taste of bacon!


While I prepare the rest of the ingredients, I stir the bacon occasionally as it renders, so that it doesn't stick to the bottom of the saucepan.


Once the bacon is fully cooked. I put it on several paper towels to absorb the excess fat.  I used to put the bacon fat in a bowl and throw it in the trash can once it cooled.  On Pinterest, I discovered that I can line my little bowl with foil, so when the fat has cooled and is solid, I can wrap it up in the foil to throw it away and then I don't have a bowl to wash!


All of the ingredients, other than the cheese, go into the saucepan.  I mix them gently and bring them to a boil over high heat.  Once it reaches a full boil, I turn the heat down to low to let the beans simmer for 45 minutes.  I know this seems like a long time, but the onions need to cook so they aren't crunchy and it needs to reduce to a thick baked bean consistency.  While the beans simmer, I stir them every once-in-a-while so they don't stick to the pan and begin working on the main course, the Chicken Taco Burgers.


These burgers are simple to make and are healthy because they're made from ground chicken.  I place all of the ingredients in a bowl large enough to give me room for mixing.  I've tried using a spoon and a spatula for this, but find that clean hands (minus rings) are the best tools for getting this completely mixed.


You'll know it's fully mixed when you no longer see any areas with the light pink chicken meat.  The taco seasoning and chili powder will give it a darker hue.  The mixture at this point is very soft, much softer than hamburger meat which is easily pressed into patties.


The first time I made these burgers, I tried patting them out on a cutting board, but they stuck to the board and when I tried to lift them off with a spatula, it altered the round shape.  Then I discovered a product called Dispens-a-wax that I found at Smart & Final.  They are 5-inch square pieces of paper that are somewhere between wax paper and parchment paper, and are oh, so handy.  There are 1,000 sheets in the box, so it will last me a very long time.  I even use them when making regular burgers, to put between patties so they don't stick to one another.  They are a real time saver.  With these soft burgers, I put the paper on my cutting board and gently press out the shape of the burger.


Not only do they not stick to my cutting board, but these little sheets of paper make it easier to get them on the grill!  I flip them over onto the grill and then gently peel back the paper and discard it.  I know there is a little bit of waste of meat sticking to the paper, but I feel it far outweighs the hassles I described above!


Because these patties are so soft, they can't be flipped too soon!  I keep them on the grill over medium heat for 5 minutes before even attempting to turn them.  From the picture above, you can tell that after that amount of time, they look more "solid" than the previous picture.


You can see that those aren't just grill marks on the first side, but deep groves due to the softness of the patties.  I grill them for an additional 5 minutes and then flip them again before adding the cheese.  I just think that the melted cheese looks better on the smoother side as opposed to this side with the deep ridges.


Because it's a taco burger, the normal condiments just won't do.   We always add salsa and if I make fresh guacamole, we add that too!  I forgot to take a picture of the beans once I added the cheese, but the picture at the top shows how wonderful and thick these beans are when they are ready to serve. The spices and enchilada sauce give them a Mexican flavor that makes them a perfect addition to the Taco Burgers.   Enjoy!

Again, I also made my Mexican Salad to complete the meal, but will share that recipe at another time.  On extremely hot days, it's a cool main dish that I serve with fresh quesadillas.  As we near summer and the heat rises, I'm sure I'll be adding it to my blog, so stay tuned!


Chicken Taco Burgers

½ cup finely chopped onion
1 pkg. taco seasoning
2 cloves garlic, minced
½ tsp pepper
2 lbs. ground chicken
1 egg, beaten
8 slices pepper-jack cheese
1 pkg. (8) hamburger buns
Salsa and/or guacamole for toppings

In a large bowl, combine the first 6 ingredients, mixing thoroughly.  This mixture will be soft.  Shape into 6 patties.  Grill patties, covered, over medium heat for 5 minutes.  Flip and grill, covered, an additional 5 minutes; top with cheese, cover and grill for 1 minute to melt cheese.  Place on buns and top with salsa and/or guacamole.


Mission Baked Beans

8 slices bacon, cooked and crumbled
1 can (28 oz.) pork and beans
1 can (15 ½ oz.) chili beans, undrained
¾ cup finely chopped onion
½ cup packed dark brown sugar
1 can (10 oz.) enchilada sauce
1 tablespoon all-purpose flour
2 teaspoons chili powder
1 teaspoon ground cumin
1/8 teaspoon garlic powder
1 cup (4 oz.) shredded Monterey Jack cheese

Combine all ingredients, except cheese, in a large saucepan or Dutch oven; mix gently.  Bring to a boil over high heat; reduce heat and simmer for 45 minutes, stirring frequently so the beans don’t stick to the bottom of the pot. Sprinkle with cheese before serving.

Thursday, May 24, 2012

Pizza Dogs

Make anything that resembles a pizza or has the flavors of a pizza and you're almost guaranteed that kids will like it.  I first tasted a Pizza Dog when I had my first job at a Hallmark store in a mall and went to Orange Julius on my break for lunch.  I was sold after eating my first one and decided I needed to recreate this dressed up hot dog at home.  This is a fairly quick thing to put together and it's another great recipe for feeding my family at two separate seating times.


The key to making the perfect Pizza Dog is in how the cheese gets melted.  I have tried several ways and found the best way is to steam the whole thing once assembled.  Orange Julius had a steaming machine they used, so I assumed that would be the best method.  It can be microwaved, which is the fastest way to do it, but I find this method makes the bun rubbery or chewy.  I've tried the oven, but this tends to dry out the bun.  When steamed, the bun gets warm as the cheese melts, but it doesn't change the texture.  I don't have a steamer, so I usually use a roaster heated to 350 degrees with about 1/2 inch of water on the bottom and a rack on which to place the container holding the dogs.


I get the hot dogs on the stove first, as it takes a few minutes for the water to boil.  I prefer using the bun-size dogs.


Then, I put the pizza sauce in a small saucepan to heat over low heat.  The best sauce I found was Ragu Pizza Quick Sauce in Traditional flavor.  Unfortunately, I haven't been able to find that one in a while.  I haven't yet found one that matches it in flavor.


When the sauce is heated, I add about 1 tablespoon of sauce to the bottom of the buns.  Choosing what to put the buns on/in is important as you don't want the bun to totally split in half or for it to fall over spilling the cheese everywhere.  I picked something with sides to help keep the buns in place and chose one that would also fit in my roaster and not be affected by the steam heat.  When making these for lots of teenagers, I've used the cardboard holders from Smart & Final that usually are used to hold French fries at fast food restaurants.


Next, I add the hot dogs to the buns.


Then, I spread another 2 tablespoons of sauce on each hot dog.


Approximately 1/3 cup of shredded mozzarella cheese goes on next.


Then, I shake on a little dried oregano for a little extra flavor.


Finally, I add approximately 2 tablespoons of cheddar cheese.


The dish then goes into the roaster for about 2 minutes to steam.  Once I forgot to put the lid on as I went back to building the next few dogs and discovered that the cheese doesn't melt without the lid on!


I don't really time them while they are steaming.  When I check them and they look like this, they are done and are ready to be served!


Doesn't that look like something you want to sink your teeth into?  When I need to make a lot at a time, I put them in a 9x13-inch dish and steam them in my 18-quart roaster.  Enjoy!


Pizza Dogs
1 pkg. hot dogs (8 dogs)
1 pkg. hot dog buns (8 buns)
1 1/2 cups pizza sauce
2 2/3 cups shredded mozzarella cheese
1 cup shredded cheddar cheese
dried oregano to taste

Place the hot dogs in a medium saucepan over high heat to boil.  Once the water comes to a full boil, cook for 2 minutes.  In the meantime, place the pizza sauce in a small saucepan; cook over low heat, stirring occasionally.  Prepare a roaster by putting a rack in it and heating 1/2 inch of water at 350 degrees.  Place the buns in a non-heat sensitive dish/pan with sides so that the buns will sit properly to add fillings, making sure the pan will fit in the roaster.  When sauce is heated, spoon 1 tablespoon into each bun.  Place a cooked hot dog in each bun and top with 2 tablespoons of pizza sauce.  Top each one with approximately 1/3 cup of mozzarella cheese.  Shake a small amount of dried oregano, to taste, on top and add approximately 2 tablespoons of cheddar cheese next.  Place the pan with the hot dogs in the roaster and replace the lid.  Steam for approximately 2 minutes.  Using a hot mit, remove the pan from the roaster (be careful as steam can burn!).  Remove Pizza Dogs to a serving platter or individual plates.  Best served piping hot!

Friday, May 18, 2012

Sun-Dried tomato Sausage with Penne


I found this recipe in a magazine where they were advertising Emeril's Sun-Dried Tomato Sausage.  I had never tried this kind of sausage before, and Emeril seems to make some pretty tasty looking dishes, so I cut it out and decided to give it a try.  It was a hit from the first time I made it and is one of my personal favorite dishes.  And, it gets 8's and 9's on the Melnarik rating scale.  In fact, my brother-in-law was coming for dinner, and wanting to impress him with something really tasty, I chose this as the main dish.  I paired it with my Leon Salad (recipe formerly posted) and some simple garlic bread.  I was pressed for time, so I apologize for not having preparation pictures.

The recipe was published in 2005 and for the first few years I was able to find the Emeril's brand sausages.  Now the only sun-dried tomato sausages I can find are Aidelle's brand.  If you can find Emeril's brand, I would suggest getting those as the flavor level is, shall I say it, kicked up a little more. BAM!  That doesn't mean these sausages are spicy, because they are not.  The flavor of the sun-dried tomatoes is the shining star.

Once I get the water on to boil, I begin slicing the sausages and add them to a large skillet over medium-high heat, stirring occasionally.  As I cut the onion and garlic, I add them to the pan.  I buy the jar of roasted red peppers strips so it takes less time to chop and then add that to the skillet, stirring occasionally.  Then I add the crushed red pepper flakes.  During this time I keep checking the water and when it comes to a full boil, I add the pasta and cook until al dente (about 11 minutes).  The pasta is usually done just about the time the sausage mixture is ready, so I drain it and add it to the skillet, tossing to combine.  (If your skillet isn't large enough to add the pasta and toss it, place your pasta in a serving dish and top with the sausage mixture.)  I place the combined mixture in my large pasta bowl, sprinkle with freshly grated parmesan cheese and basil and it's ready to serve.

This recipe yields enough for 6 - 8 people, but re-heated leftovers are almost as good as fresh!  Enjoy!


Sun-Dried Tomato Sausage with Penne
  
4 tablespoons extra-virgin olive oil
8 links sun-dried tomato sausage, sliced
1 cup diced onion
1 lb. penne pasta
1 tablespoon minced garlic
1 (12 oz.) jar roasted red peppers, drained and rough chopped
¼ teaspoon crushed red pepper flakes
¼ cup chopped fresh basil
½  cup grated fresh parmesan cheese


Cook penne in salted, boiling water until al dente.  Drain and keep warm.  While pasta is cooking, heat 2 tablespoons olive oil over medium-high heat in a large skillet for 30 seconds.  Add sausage and cook, stirring until edges are browned, about 5 minutes.  Add onions and cook, stirring until browned, about 5 minutes.  Add garlic, peppers, and red pepper flakes, stirring to blend for 30 seconds.  Pour sausage over warm pasta.  Sprinkle with basil and parmesan cheese.  You can drizzle extra 2 tablespoons olive oil on top if you wish, I usually omit this step

Serves 4 - 6

Beef Fajita Pizza

The is the next in the series of pizzas I make.  Although the BBQ Chicken Pizza is the favorite in my house, this comes in a close second.  This is another easy dish to put together because I use frozen bell pepper strips and pre-sliced stir-fry beef strips.  Also, using the Boboli Pizza Shell means I don't have to prepare pizza dough.  Because there is little prep work, this dish is on the table in under half an hour!  I originally saw Sandra Lee demonstrate this recipe on her Semi-Homemade show on the Food Network and printed it from their website.


I think food is more appealing when it looks good, and this colorful pizza is something anyone would want to try!  It gets 8's on the Melnarik rating scale!


Of course, I use my Pampered Chef baking stone to bake it in the oven.  There is no preparation necessary, I just place the pizza shell on the stone.


Because it is a fajita pizza, I add salsa in lieu of pizza sauce.


I top that with pre-shredded Mexican blend cheese (Monterey Jack and cheddar cheeses).


The beef and pepper strips get tossed with a little olive oil and taco seasoning and cooked in a skillet for a few minutes before adding them to the pizza, and into the oven it goes.


It smells great coming out of the oven and the cheese is all melted.  I'm getting hungry as I type this!


The last step is to add some fresh cilantro and serve.  Isn't it pretty?  It is best to let it rest for about 5 minutes after taking it out of the oven before cutting so the cheese doesn't run onto the baking dish when you remove the first slice.  Enjoy!


Beef Fajita Pizza 

¾ lb. stir-fry beef strips
1 pound frozen pepper stir-fry, thawed
2 tablespoons extra-virgin olive oil
2 tablespoons taco seasoning mix
1 Boboli Pizza Shell
¾ cup prepared salsa
2 ½ cups shredded Mexican blend cheese
Fresh cilantro, chopped for garnish
Sour cream and guacamole (optional), for serving

Preheat oven to 425°.  In a large bowl, combine beef strips, peppers, oil and taco seasoning.  Cook in a skillet over medium heat for approximately 5 minutes, stirring frequently, until beef is cooked and vegetables are crisp-tender.

Place pizza shell on a baking stone or cookie sheet.  Top with salsa, cheese, and beef and pepper mixture.  Bake in the oven at 425° for 15 minutes.  Remove from the oven and sprinkle with fresh cilantro.  Let sit 5 minutes before serving.

Thursday, May 10, 2012

Welsh Rarebit

I attended a Royal Ladies' Tea Society tea the other day where we were honoring our mothers.  Each attendee was asked to bring a dish to complete the meal.  My mom was born in Ireland and some of my favorite dishes of hers she learned to make at her mother's side.  This is one of those recipes, which she made often as I was growing up.  I have made it for my boys and they love it, too.  They've even request it for lunch every once-in-a-while.  It seemed the perfect choice to honor my mom at the tea.


This was usually served at lunch time on top of buttered toast, but sometimes we'd eat it on Ritz crackers, which is how I chose to serve it at the tea.  There are only two ingredients and it's fairly simple to make, but it tastes great.  


I begin by cracking my eggs into my saucepan (I use a pan big enough to allow room for stirring).  I always use extra-large eggs.  Hint:  One way to check to see how fresh your eggs are is to drop them (in the shell) one-by-one into a glass of water.  If they sink, they are very fresh, if they float, don't even crack them as they are bad; throw them out immediately as you don't want that smell in your house!  If the eggs bounce a little before settling on the bottom of the glass, they are still good; only the floaters are bad.  I'm not an Alton Brown or scientist, but I understand that as eggs go bad, the little pocket of air under the shell becomes a gas (which is lighter than air), thus causing the bad eggs to float!  This test works so well, I don't pay any attention to the expiration date on the box the eggs come in!


You'll notice that I don't  use any type of oil or butter in the pan, as the cheese provides enough oil so the mixture doesn't stick to the pan.  Using either a whisk or a fork, I beat the eggs until the yolks and whites are combined.


After I grate the cheese, I add it directly on top of the eggs.  I always use extra-sharp cheddar cheese when making this dish.  The sharper the better as that's what gives Welsh Rarebit it's great flavor.  One of my favorite brands is Cracker Barrel.


Once I mix the cheese into the eggs, I still see mostly cheese, but it is all covered with egg.  Up until this point, I can leave the stove if called away.  Once I turn the heat on under the pan, I'm committed to standing there and stirring until it's done!


At first, it seems as though nothing changes as I stir and stir.  But the cheese does melt completely into the eggs; I just have to be a little patient.  You'll notice the deeper color and that it has a thin layer of froth at the sides.  If you don't stir constantly, the eggs can begin to cook before the cheese melts and then you'll just have scrambled eggs with cheese.  It's also important to cook it over medium-low heat, otherwise you risk getting cheesy scrambled eggs.


I'm sure a chemistry major could probably tell you why, but I think it's interesting that, as long as I keep stirring the mixture, it doesn't begin to cook until all of the cheese is melted.  I know it's cooking when I start to see some of it on the edge of my spoon (or Pampered Chef spoontula).  As it cooks, I keep scraping the pan in different areas as if I was making scrambled eggs.


When it's finished it has a finer texture than scrambled eggs.  It's ready to serve either on buttered toast (being of British descent, we used a knife and fork to cut a piece before eating it) or crackers (of course, everything tastes better if it sits on a Ritz! - sorry, I couldn't resist that).  When I took it to the tea, I put it in a small crock pot to keep it hot.  I used the smallest Pampered Chef scoop to put it on the crackers for the ladies.  It is best hot, so I wish I had let them serve it themselves so it wouldn't cool down on the platter.  It's a simple dish, but oh so good.  Enjoy!

Welsh Rarebit

6 extra large eggs
12 oz. extra-sharp cheddar cheese, grated

In a medium saucepan, combine eggs and cheese.  Over medium-low heat, cook this mixture, stirring constantly, until the cheese is melted.  Continue stirring and scraping the pan, as if making scrambled eggs, until fully cooked and the mixture has a fine texture.  Serve on buttered toast or crackers.  Best when served hot.