Showing posts with label Main Dish. Show all posts

Saturday, January 12, 2013

Green Enchiladas

About seven years ago, following knee surgery, many friends blessed us with dinner while I was recuperating.  Living in Southern California, we'd had many enchiladas with the traditional red sauce, but we had never had them made with a green sauce.  My husband, in particular, thought they were the best enchiladas he had ever tasted!


Our pastor's wife and my friend, Rhonda Boone introduced us to these fabulous enchiladas and was quite happy to share her recipe with me.  I have made this dish many times because it is a family favorite.  My guys give these enchiladas 8's and 9's on the Melnarik rating scale.


I begin by adding the onion to a saucepan heated with a little oil over medium heat and cook until they are translucent and soft.


This is one of the recipes I like to use the rotisserie chicken in.  I usually buy it at Costco, let it cool for a while, then pick all the meat off the bones.  I transfer it to a freezer zip-lock bag and put it in the freezer until ready to use.  After defrosting the chicken and chopping it into smaller that bite-size pieces, I place it in a medium bowl and add the onions and 1/2 cup of the enchilada sauce.


The mixture should be moist, but not wet.  If it needs a little more sauce to get it to the consistency in the picture above, I add a little more.  Then I set it aside until the rest of the ingredients are ready for assembly.


The corn tortillas will break if I try to assemble the enchiladas at this point, so I follow the advice of my Mexican friends and fry them in oil for a few seconds to make them supple.  This also ensures that the enchiladas won't stick to the baking dish.  In a small frying pan, I heat  about 1/2 inch of oil over medium-high heat.  The oil should be hot, but not smoking.  Then I add one tortilla just until their are bubbles in the oil all around the edge (about 3 seconds).  Then, using tongs, I flip it over to the other side.


Immediately, it will begin to puff up with bubbles all around the edge of the tortilla.  Another 3 seconds and it should be removed from the pan.  Before beginning, I've arranged at least 4 layers of paper towels on the counter next to the stove.  As each tortilla comes out of the pan, I place it on the paper towels to soak up the excess oil.  All of the tortillas are prepared in the same way, one at a time. The idea is to soften the tortilla, not to leave it in the hot oil so long that it becomes a tortilla chip!


Now I'm ready to assemble the enchiladas.  After blotting a tortilla with a fresh paper towel, I place it on my work surface.  Across the middle, I add a couple of tablespoons or so of the Mexican blend cheese.


On top of that, I add some of the chicken mixture.  The idea is to not have so much filling that it's too full to roll.


I then begin rolling up the tortilla, tucking in the edge that had been closest to me under the filling as I continue to roll.


I then place each enchilada in my baking dish, seam side down.  If I'm making this dish for more than just my family, I use a 9- x 13-inch baking dish, but in this case, I use smaller baking dishes so I'll have one for dinner for that evening and one I can either use later in the week, or freeze for later in the month.  As I add each one, I push it right up against the previous one, trying to add as many as possible to the dish.


Once the baking dishes are filled, I add the remaining enchilada sauce, making sure all of the enchiladas are covered in the sauce.  The enchiladas can be frozen at this point to be baked at a later date.


The sauce gets topped with a generous amount of cheese.  My Mexican friends say you can't have too much sauce or too much cheese!  Into the oven the baking dishes go for 30 minutes at 350°F.


When they come out of the oven, the cheese has melted and they are piping hot and ready to serve.


I like to serve these enchiladas with refried beans and a Mexican rice.  When I made this dish recently, I also made a small dish of enchiladas using the red sauce, and when my husband and oldest son compared the two, they both declared the green enchiladas as superior in flavor!  Enjoy!


Green Enchiladas

1 chicken, cooked and deboned
1 large onion, chopped
1 – 2 tablespoons olive oil
1 (28 oz.) can green chili enchilada sauce (I use La Victoria brand)
26 – 30 corn tortillas
½ cup vegetable or canola oil for heating tortillas
5 – 6 cups shredded Mexican blend cheese (Monterey Jack & Cheddar)

Chop chicken into small pieces (smaller than bile-size) and place in a medium bowl.  In a small saucepan, sauté onion in olive oil until soft and translucent.  Add onion and about ½ cup enchilada sauce to the chicken.  Mix, adding just enough enchilada sauce to make the mixture moist.  Put vegetable or canola oil in small skillet and heat until hot, but not smoking.  Heat tortillas one at a time in the oil for about 3 seconds on each side; stack on paper towels to drain.  Fill each tortilla with some cheese and chicken mixture, making sure it’s not too full to roll.  Place seam side down in a 9- x 13- inch baking dish.  Continue until pan is full and all of the chicken mixture has been used.  Pour the rest of the enchilada sauce evenly over the top of the rolled enchiladas, sprinkle with remaining cheese.  Bake at 350°F for 30 minutes.

These also freeze very well, so if you aren’t cooking for many people, you may want to fill several small dishes, freezing some after adding the enchilada sauce to the top of the enchiladas.  Defrost fully before baking. 

Friday, December 28, 2012

Smothered Chicken

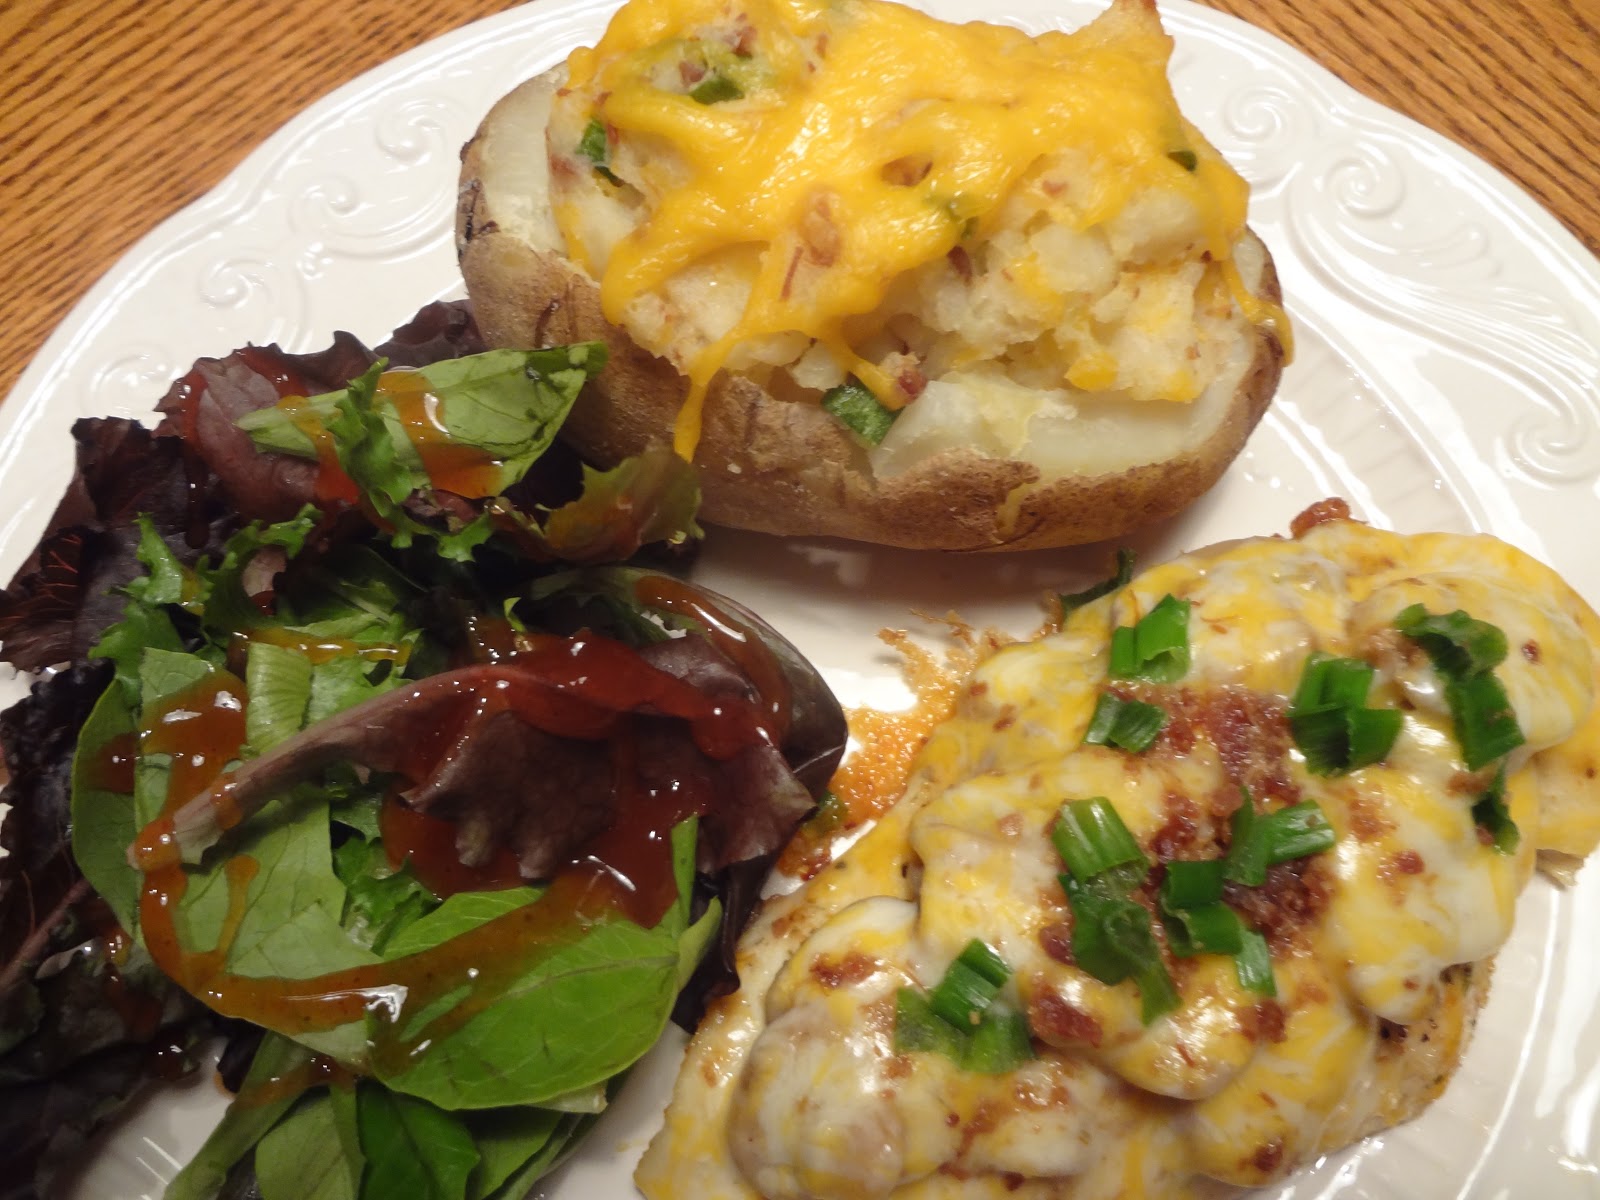
This dish is a family favorite when combined with a Twice-Baked Potato (also shared here on my blog) and a green salad.  In fact, I received one of my favorite compliments from my oldest son the first time I made this meal.  After taking the first few bites, he said "This is why we don't eat out!"


This chicken takes hardly any time to prepare, which gives me more time to prepare a more involved side dish.  I found this recipe in my November/December 2002 issue of Quick Cooking and it was a family favorite from the first bite.  This dish gets 9's on the Melnarik rating scale.


After flattening a boneless, skinless chicken breast to 1/4-inch thickness, I sprinkle each side with some garlic powder and seasoned salt.  Any type of seasoned salt can be used.  Or, if you're watching your salt intake, a salt-free product like Mrs. Dash can be substituted.


After placing the seasoned chicken in a skillet and cooking it over medium heat in a little oil for 4 minutes, I turn each piece and add the mushrooms.  We were having a guest for dinner this night and one piece of chicken did not get mushrooms, because my youngest son doesn't care for them.


I then topped each piece of chicken with the Mexican cheese blend (this is the pre-shredded Monterey Jack and Cheddar blend without the spices), the crumbled bacon and chopped green onions.


I cover the skillet and let the chicken cook an additional 4 minutes, until fully cooked.


When finished, the juices run clear and the cheese has melted perfectly on top.


Again, I like to serve this chicken with a twice-baked potato and a green salad.  It's a colorful meal and a tasty one, too!


To me, this is comfort food, but it's also special enough to serve to guests!  Enjoy!


Smothered Chicken

4 boneless, skinless chicken breast halves
Garlic powder and seasoned salt to taste
1 tablespoon vegetable oil
1 (4.5 oz.) can sliced mushrooms, drained
1 cup (4 oz) Mexican cheese blend (Monterey Jack and Cheddar)
½ cup chopped green onions
½ cup bacon bits

Flatten chicken to 1/4-inch thickness.  Sprinkle with seasonings on both sides.  In a large non-stick skillet on medium heat, brown chicken in oil for 4 minutes.  Turn chicken over; top with mushrooms, cheese, onions and bacon.  Cover and cook until chicken juices run clear, approximately 4 minutes.

Tuesday, July 31, 2012

Peach and Mustard Glazed Pork Tenderloin

This dish is so easy to make and yet so flavorful, it has become one of my favorite things to grill!  I found this recipe years ago in a recipe book that was sold near the check out stand at the market.  This particular recipe sounded so good I tried it immediately and it was a hit with my family.


The meat is so tender and the marinade adds that special flavor.  This dish gets 9's all around on the Melnarik rating scale.  I love to serve this with the Grilled Asparagus and New Potatoes which I've posted below.  The two dishes go very well together.


I begin by placing the peach preserves, Dijon mustard, olive oil, thyme leaves and salt in a measuring cup.  I use a measuring cup instead of a bowl for ease of pouring the marinade over the meat later.


Using a whisk, I mix the ingredients together until well combined.


I place the pork tenderloins in a large resealable plastic bag.


I pour the marinade directly on top and seal the bag.


Then I manipulate the bag, turning the pork to make sure the tenderloins get completely covered in the marinade.  I put the bag in the refrigerator for at least 1 hour to fully marinate.


After getting the grill ready, I remove the pork from the bag, reserving the marinade and placing it in a small bowl for basting the pork.  I place the pork over direct medium heat and cook covered, turning every 10 minutes or so, basting with the reserved marinade each time I turn it.  I cook the asparagus and potatoes at the same time, making that dish the perfect accompaniment for this pork dish.  See the following post for that recipe.


When the pork is fully cooked, I remove it to a cutting board and let it rest for 5 minutes before slicing.


Even after resting, you can see that this meat is juicy and tender and oh so good!  If there is any remaining marinade, I heat it to boiling in a small saucepan, letting it cook for 1 minute, and serve it with the meat.  Enjoy!


Peach and Mustard Glazed Pork Tenderloin

1/2 cup peach preserves
2 tablespoons Dijon mustard
2 teaspoons olive oil
1/4 teaspoon dried thyme leaves
1/4 teaspoon salt
2 pork tenderloins (about 3/4 pound each)

In a 2-cup measuring cup, combine the peach preserves, Dijon mustard, olive oil, thyme and salt to make the marinade.   Whisk until fully combined.  Place pork in a large resealable plastic bag; pour marinade over pork, seal bag and turn meat in marinade until fully coated.  Place in refrigerator for at least 1 hour but no longer than 8 hours.  Heat coals or gas grill for direct heat.  Remove pork from marinade; reserve marinade.  Cover and grill pork over medium heat 25 to 30 minutes, brushing occasionally with marinade and turning at least twice during cooking time, until pork has slight blush of pink in center and meat thermometer inserted in center reads 160 degrees.  Let pork rest 5 minutes before slicing.  Heat remaining marinade to boiling in a small saucepan; boil and stir 1 minute.  Cut into slices; serve with marinade.