Showing posts with label Chicken. Show all posts

Saturday, January 11, 2014

Kenny's Orange Chicken

If you like the Orange Chicken that is served at Panda Express restaurants, you are bound to like this recipe.  When I was given this recipe, I was told that it made much more sauce than what was needed for the amount of chicken called for.  Therefore, I doubled the amount of chicken when I prepared it and my recipe below reflects those amounts.  I was assured it was very good, so leftovers were not going to be a problem.


My nephew, Kenny, has taken up cooking and this recipe came from him.  I told him that if we thought it was really good, I would add it to my blog.  We loved it, giving it straight 9's on the Melnarik rating scale!  His sister and her husband call this savory chicken Crazy Uncle Kenny's Orange Chicken, and told me I was free to call it that here, but I don't think he's crazy and he's not yet an uncle, so I'm just calling it Kenny's Orange Chicken (sorry Jessica and Arland!). Thank you, Kenny, for sharing this recipe with me!


To begin, I began heating about 1-inch of vegetable oil in my largest skillet to 375°F.  Then, I beat the eggs in a bowl using a fork and mixed the flour and salt and pepper in a shallow dish.  I started with 1 cup of the flour to which I added 1/2 teaspoon each of salt and pepper.  When I was about half way through dredging the chicken pieces, I added the other cup of flour with the same amount of seasonings.


I then began cutting the chicken into 3/4- to 1-inch cubes.


As I cut about a handful of chicken cubes, I dipped them in the egg,


then I dredged them in the flour mixture.  


I would only add enough chicken to almost cover the bottom of the frying pan.  This allowed them to cook evenly and gave me a bit of room to turn them as needed so they were golden brown on all sides.
  

As each batch was finished, I would drain it on paper towels for a few minutes, then place in in a large bowl and set it aside.


During the time I was cooking the chicken, I was making the sauce.  To begin, I combined 1 1/2 cups of the water with the orange juice, lemon juice, rice vinegar, and soy sauce.  Hint:  Before juicing the orange, wash the rind and zest it (remove very thin strips from the outer part of the skin) and set aside for later use.  I stirred the ingredients together and began cooking the sauce over medium heat for 4 minutes.


To this mixture, I added the orange zest, brown sugar, ginger, garlic, and green onions, stirring to combine.  I increased the heat to high and brought the sauce to a boil.


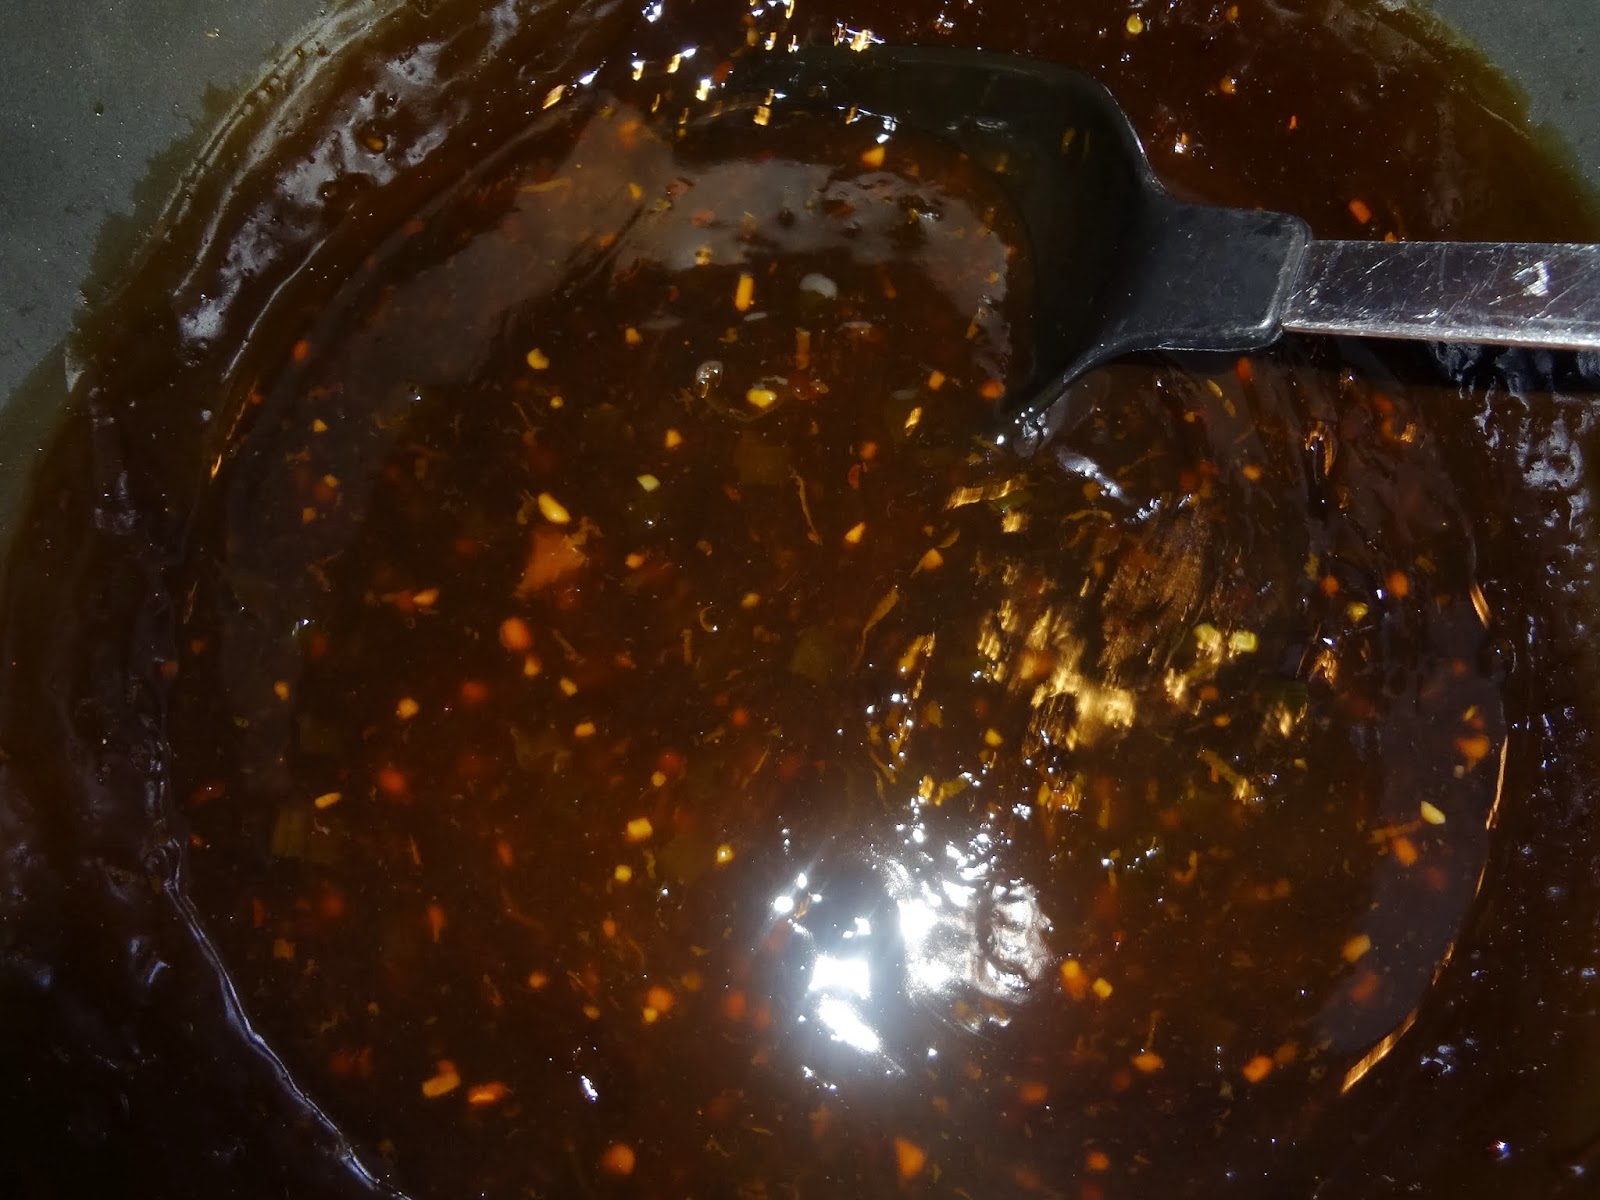
Once boiling, I reduced the heat to medium and stirred in the Mirin Sweet Cooking Sake and red pepper flakes.  In a separate bowl, I whisked together the cornstarch with 1/4 cup of water and slowly added it to the sauce while continuously stirring.  I continued cooking and stirring the sauce for a couple of minutes until it was nicely thickened.


I added the sauce to the cooked chicken I had set aside in the bowl and tossed to coat all the pieces of chicken.


I served this delectable chicken with some with rice and stir fry vegetables.  It did take a bit of time to put this dish together, because of the amount, but it was so worth the time!  If you like Asian flavors, this dish is for you!  Enjoy!


Kenny’s Orange Chicken

2 packages (16 oz. each) boneless skinless chicken breasts
2 extra large or 3 small eggs, beaten
2 cups flour
salt and pepper to taste
Oil for frying
1 ¾ cups water, divided
1 tablespoon orange zest
juice of 1 large orange
¼ cup lemon juice
1/3 cup rice vinegar
1 ½ tablespoons soy sauce
1 cup firmly packed brown sugar
½ teaspoon ground ginger
½ teaspoon garlic, minced
2 tablespoons finely chopped green onions
¼ teaspoon red pepper flakes
2 tablespoons Mirin Sweet Cooking Sake
3 tablespoons cornstarch

Heat oil in large frying pan or Dutch oven to 375°F.  Cut chicken breasts into 1-inch cubes.  In a shallow dish, combine flour, salt, and pepper for breading.  In small batches, coat chicken pieces in egg, then dredge in flour mixture.  Fry chicken in batches, turning as necessary, until golden brown and fully cooked.  Drain on paper towels and set aside in a large bowl.

Meanwhile, in a large saucepan, combine 1 ½ cups water, orange juice, lemon juice, rice vinegar, and soy sauce, stirring to combine.  Cook over medium heat for 4 minutes.  To the sauce, add orange zest, brown sugar, ginger, garlic, and green onions, stirring to combine.  Increase heat to high and bring to a boil.  Reduce heat to medium and stir in Mirin and red pepper; continue cooking.  In a cup, combine cornstarch with remaining ¼ cup water; mix well.  While stirring the sauce, slowly add cornstarch mixture; continue stirring until thickened.  Pour sauce over chicken and toss to coat; serve with rice.


Chicken Chili Nachos

This recipe is pretty fast to prepare when I find I have extra teenagers in the house and they're really hungry.  I try to always have the ingredients available so I can throw this snack together in no time.


I found this recipe in the January/February 2006 issue of Quick Cooking magazine and it was a hit from the first time I made it, getting nothing but 8's and 9's on the Melnarik rating scale.  Equal marks are given by the numerous teenagers who've feasted on these tasty nachos.


As I stated above, I like to always have all of the ingredients on hand for this dish, so sometimes I have precooked chicken instead of raw.  The method is the same except that instead of having to cook the chicken, I just cube it and heat it a bit in the pan before adding the rest of the ingredients.  I heat it because it's cold, having been in the refrigerator, and I find that the seasonings adhere to the meat better when it is warm.  As you can see from the picture above, I used precooked chicken this time.


Once I get the chicken going in the pan, I drain and rinse the kidney beans in a colander.


To the warmed (or cooked according to the recipe below) chicken I add the seasonings, tossing to combine.


Then I add the drained kidney beans, the chili beans with the sauce (I like to use the S&W brand chili beans with zesty sauce), and the tomatoes with green chilies, stirring to combine.


When combined, the juices are pretty thin, so I cook the mixture over medium heat for about 10 minutes, stirring occasionally until it reduces a bit and becomes much thicker.


When ready to serve, it's as easy as arranging some plain tortilla chips on a plate,


adding some of the chicken chili mixture,


and topping that with some shredded Mexican cheese blend.


My guys like the cheese completely melted, so we microwave each plate on high for about a minute to make them happy!  These nachos can be built on a large platter for a crowd.  Depending on the size of the platter, you may have to melt the cheese in the oven.  Just be careful because the platter will be hot, so use a hot mitt and protect the table you put it on!    Also, when and if there are leftovers, the chicken mixture is easily reheated for a quick lunch another day.  Enjoy!


Chicken Chili Nachos

1 pound boneless skinless chicken breasts, cubed
1 can (10 oz.) Rotel tomatoes
1 can (16 oz.) kidney beans, rinsed and drained
1 can (15.5 oz.) chili beans in zesty sauce, undrained
1 teaspoon paprika
1 teaspoon cumin
½ teaspoon cayenne pepper
1 package (13 ½ oz.) tortilla chips
1 ½ cups shredded Mexican cheese blend

Spray a large skillet with non-stick cooking spray.  Cook chicken in skillet over medium-high heat until no longer pink.  Add tomatoes, beans and seasonings, stirring to combine; cook for 10 minutes or until juices reduce and thicken.  Arrange tortilla chips on individual plates; sprinkle with chicken mixture, top with shredded cheese.  Microwave on high for 25 – 30 seconds to melt cheese.


Wednesday, August 14, 2013

Salsa Chicken Shortcakes

I like this dish because it can be prepared and served in less than 30 minutes, plus it's a very different way to serve chicken.  Also, on a warm day, the oven isn't on long enough to heat the kitchen to the point of being unbearable.


I found this recipe years ago in the Pillsbury 38th BAKE-OFF Contest Cookbook at the market.  I don't make these tasty sandwiches often, but when I do, they are gobbled down as quickly as I can get them to the table.  This recipe gets 8's and 9's on the Melnarik rating scale, plus some more 9's from some of my boy's friends.


As you can see, I almost forgot to take a picture of the first step, which is baking the biscuits according to the package directions.  I always buy the Pillsbury Grands! biscuits so they are large enough to make a decent size sandwich.


For the filling, I began by placing the chicken with the garlic in a large skillet in which I had heated some oil over medium heat.  In this case, I used some already cooked chicken breasts, which I cubed.  The recipe calls for raw chicken breasts that are to be cubed and cooked over high heat with the garlic.  I've done it both ways in the past.  The reason I added the previously cooked chicken to the skillet with the garlic is to allow the chicken to heat as the garlic cooks, which will help meld the flavors.


Once the garlic was cooked and the chicken was heated through, I added the cumin and stirred until the chicken was coated.  The heat of the pan helped sear the seasoning to the chicken.


Then, I added the frozen corn (no need to defrost) and the salsa, mixing thoroughly.  I continued to cook over medium heat for about 10 minutes until the mixture thickened slightly and the corn was heated through.


To assemble, I cut each biscuit in half crosswise.  I put some of the chicken mixture over the bottom halves, topped them with the top half and added a bit more of the chicken mixture.  I cut each slice of Pepper Jack cheese into 4 strips and criss-crossed 2 of them over the top of each sandwich.  The heat of the sandwich melted the cheese a bit over the top.  The easiest way to eat these tasty sandwiches is with a knife and fork.   These are so tasty, it's next to impossible to eat just one!  Enjoy!


Salsa Chicken Shortcakes

1 can (10.8 oz.) Pillsbury Grands Refrigerated Flaky Biscuits
1 tablespoon oil
4 boneless skinless chicken breast halves (about 1 pound) cut into ¾-inch pieces
1 garlic clove, minced
1 ¾ cups thick and chunky salsa
1 cup frozen corn
1 teaspoon cumin
4 oz. sliced Pepper Jack cheese, cut into 1-inch strips

Heat oven to 350°F.  Prepare and bake biscuits as directed on can.  Meanwhile, heat oil in large skillet over medium-high heat until hot.  Add chicken and garlic; cook and stir 5 to 7 minutes or until chicken is no longer pink.  Add salsa, corn, and cumin; mix well.  Reduce heat to medium; cook 10 minutes or until mixture thickens slightly.


To serve, split each warm biscuit.  Place bottom halves on individual serving plates.  Spoon half of chicken mixture over biscuits.  Cover with biscuit tops, remaining chicken mixture; top with cheese.

Southwestern Rub

This post is a little different from others in the past, because it is for a rub (mixture of seasonings) which can be added to chicken, pork or beef.  I primarily use it on chicken, but wanted you to know you have options!


I found this rub in a magazine containing recipes for marinades, rubs and sauces which was being sold at the check-out stand in the market.  I always grill the meat I rub it on, so this seasoning combination is perfect to use in hot weather, when I don't want to heat my kitchen by using the oven.  This rub gets mostly 8's on the Melnarik rating scale.


In a small bowl, I begin by mixing all of the dry ingredients (chili powder, cumin, salt and cayenne pepper).


Then, I add the vegetable oil and diced garlic, mixing until thoroughly combined.


I rub this mixture on both sides of my chicken breasts, cover them with plastic wrap and place them in the refrigerator for at least 30 minutes.  They should not be refrigerated any longer than 24 hours.


I grilled the chicken over medium heat for about 25 minutes, turning the chicken once during the cooking time.  That's all there is to it!  In order to keep the Southwestern flavor theme going with this meal, I made it this time with a Southwestern Caesar Salad and some Mission Baked Beans as side dishes.  Enjoy!

Southwestern Rub

1 tablespoon chili powder
1 tablespoon vegetable oil
1 teaspoon ground cumin
¼ teaspoon salt
¼ teaspoon ground red pepper (cayenne)
1 large clove garlic, finely chopped

Mix all ingredients.

Spread rub evenly on 1 pound boneless meat (chicken, pork, beef) or 2 ½ pounds ½-inch thick pork chops.  Cover and refrigerate at least 30 minutes but no longer than 24 hours.  Grill meat as desired.